Starting with makeup can feel overwhelming, especially with countless products and techniques to master. From blending foundation seamlessly to achieving the perfect winged eyeliner, small mistakes can make a big difference in how your makeup looks and lasts. But what if you could bypass the trial and error and get straight to the insider tricks that makeup artists swear by? That’s exactly what this list is about—seventeen genius makeup hacks that simplify the process, boost your confidence, and give you that flawless, effortless finish. And if you’re searching for the perfect beauty gift, these hacks will also introduce must-have products that any makeup lover would appreciate. Whether you’re a beginner or someone looking to refine your routine, these tips will change the way you approach makeup forever.
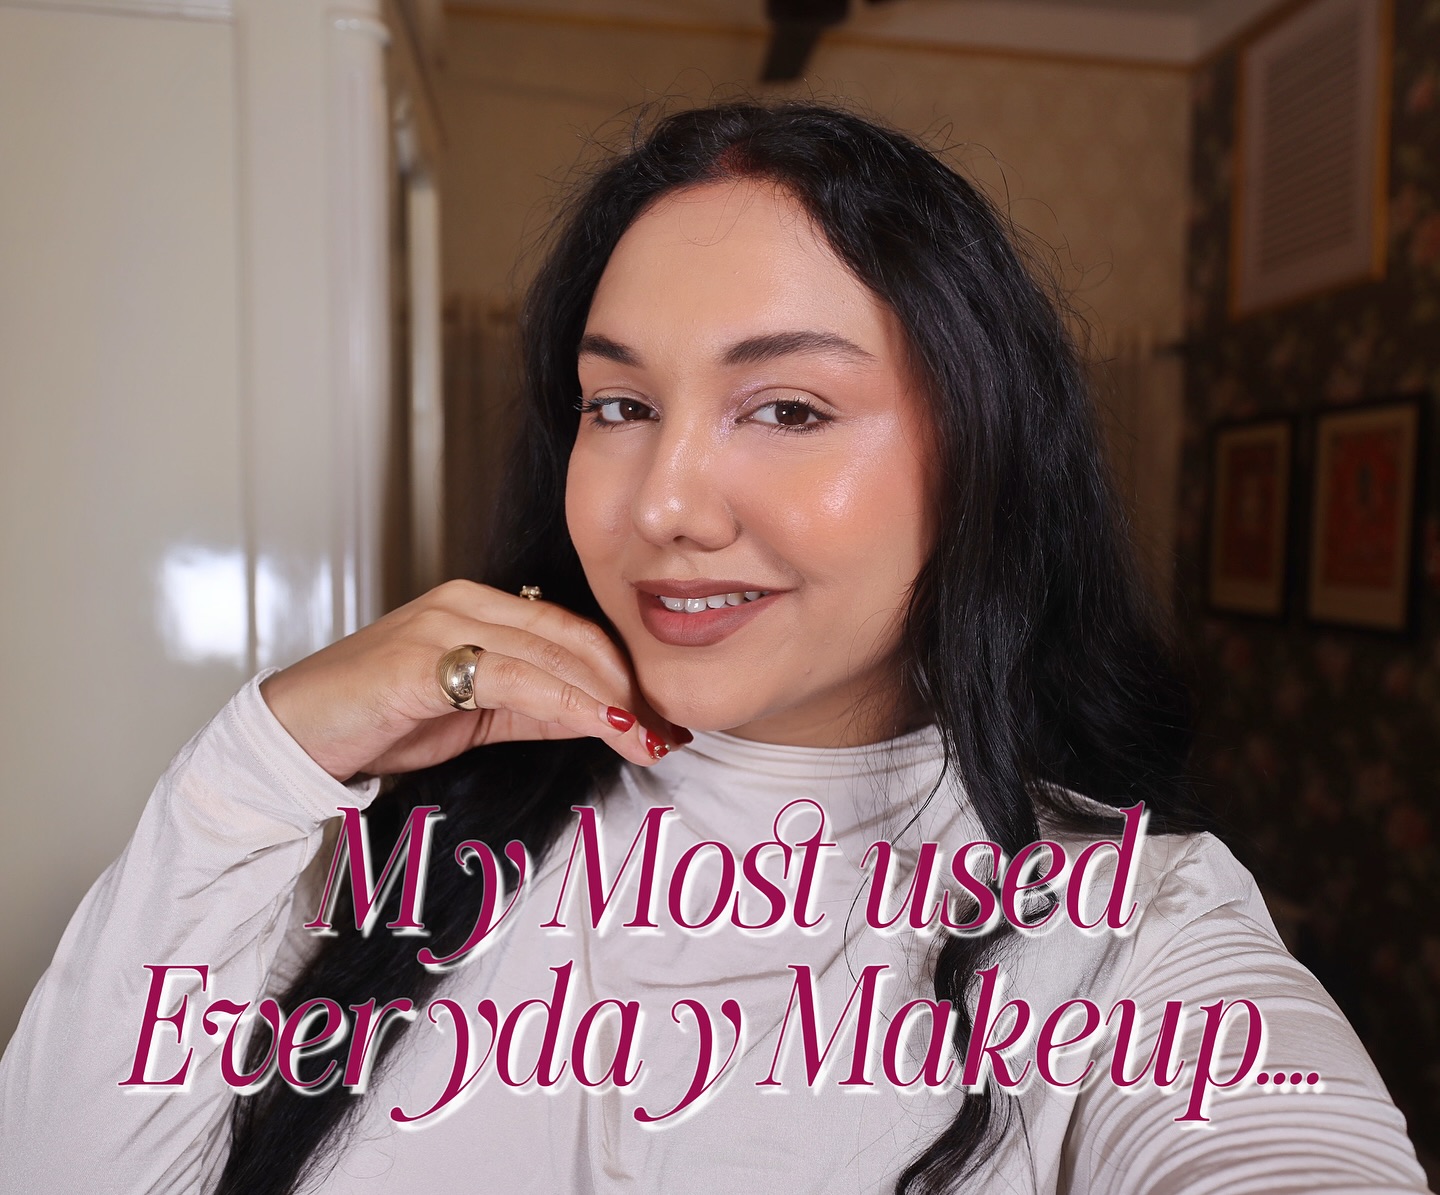
1. The Perfect Primer Trick for Long-Lasting Makeup

source @monasbeautyindia
A flawless makeup look starts with the right base, and primer is the secret weapon that ensures everything stays in place. Many beginners skip primer, thinking it’s an unnecessary extra step, but it’s actually essential for long-lasting, smooth makeup. The trick is choosing a primer based on your skin type—hydrating primers work best for dry skin, while mattifying primers help control oil and shine for those with oily skin. Instead of rubbing it in like moisturizer, gently press it into your skin, focusing on areas where your makeup tends to break down, such as around the nose, forehead, and chin. This technique creates a barrier that locks in moisture, minimizes pores, and keeps your foundation from sliding off. If you want your makeup to stay fresh from morning to night, investing in a high-quality primer is a game-changer.
2. Apply Foundation the Right Way for a Natural Finish
source @blankcanvas_of_beauty
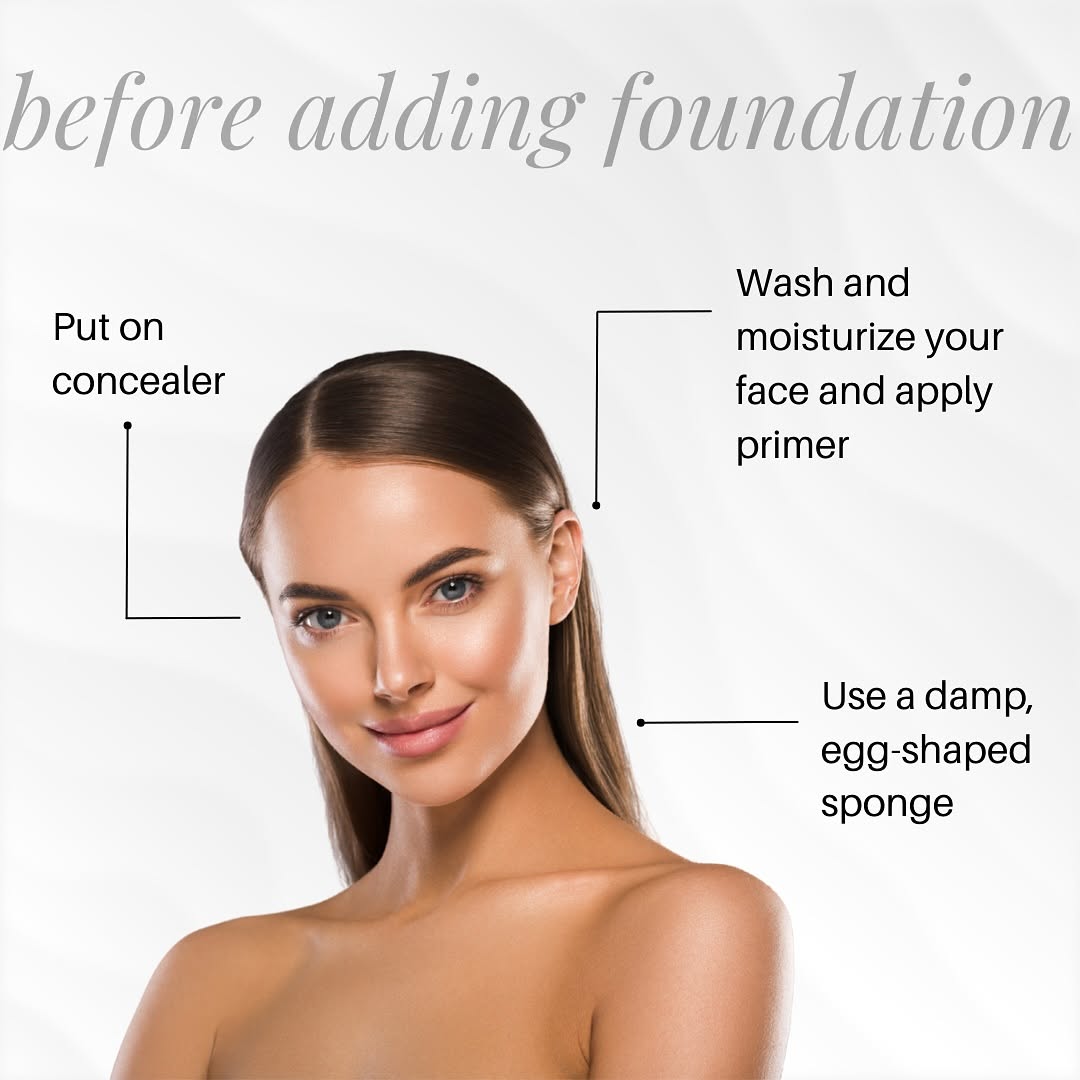
The way you apply foundation makes all the difference between a cakey, unnatural look and a seamless, airbrushed finish. Many beginners either use too much product or apply it incorrectly, leading to streaks and patchiness. Instead of using your fingers, which can leave streaks and transfer bacteria, opt for a damp beauty sponge or a dense foundation brush. Start with a small amount of foundation, applying it from the center of your face outward, where you need the most coverage. The key is to blend in thin layers—building up coverage gradually prevents the heavy, mask-like appearance. If you want your foundation to last even longer, consider mixing a drop of setting spray into it before application. This technique ensures your foundation melts into the skin beautifully and stays put all day.
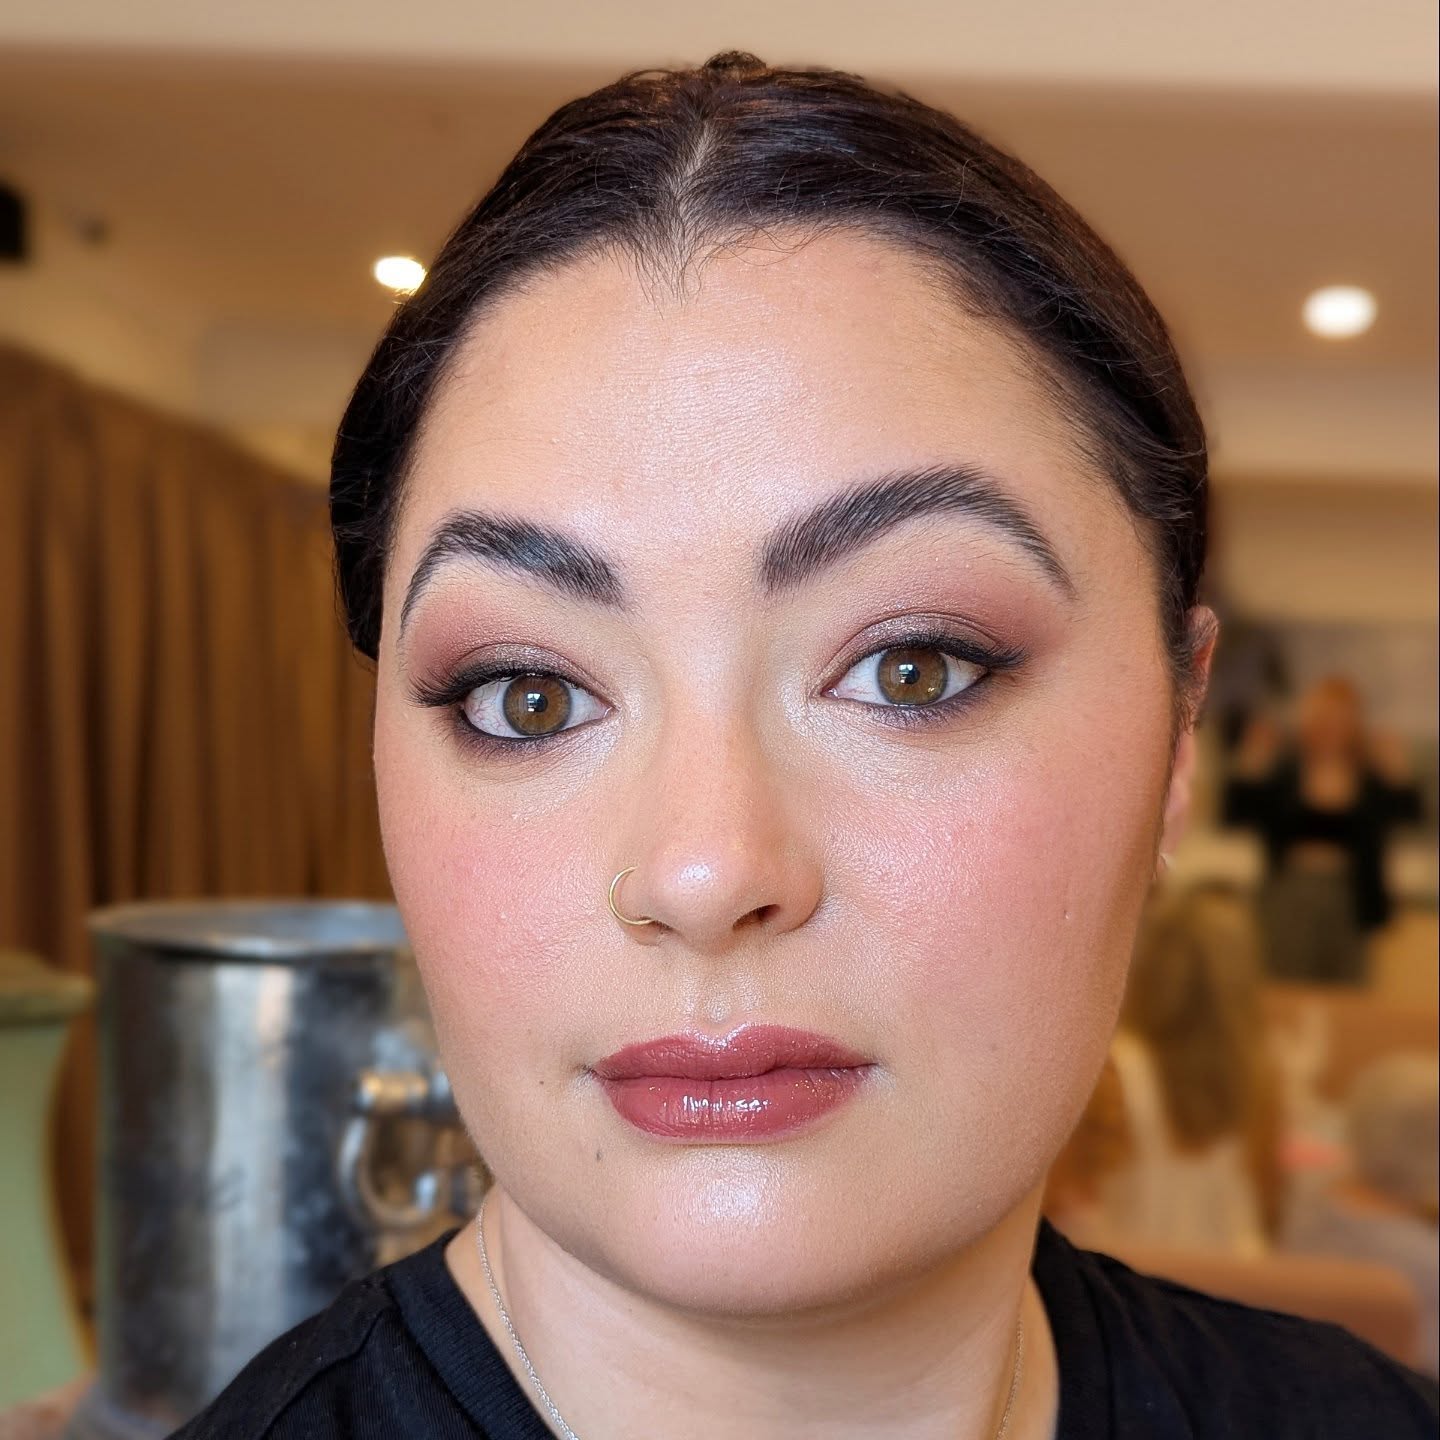
3. Concealer Triangle Hack for Instant Brightness
source @skincareandchill
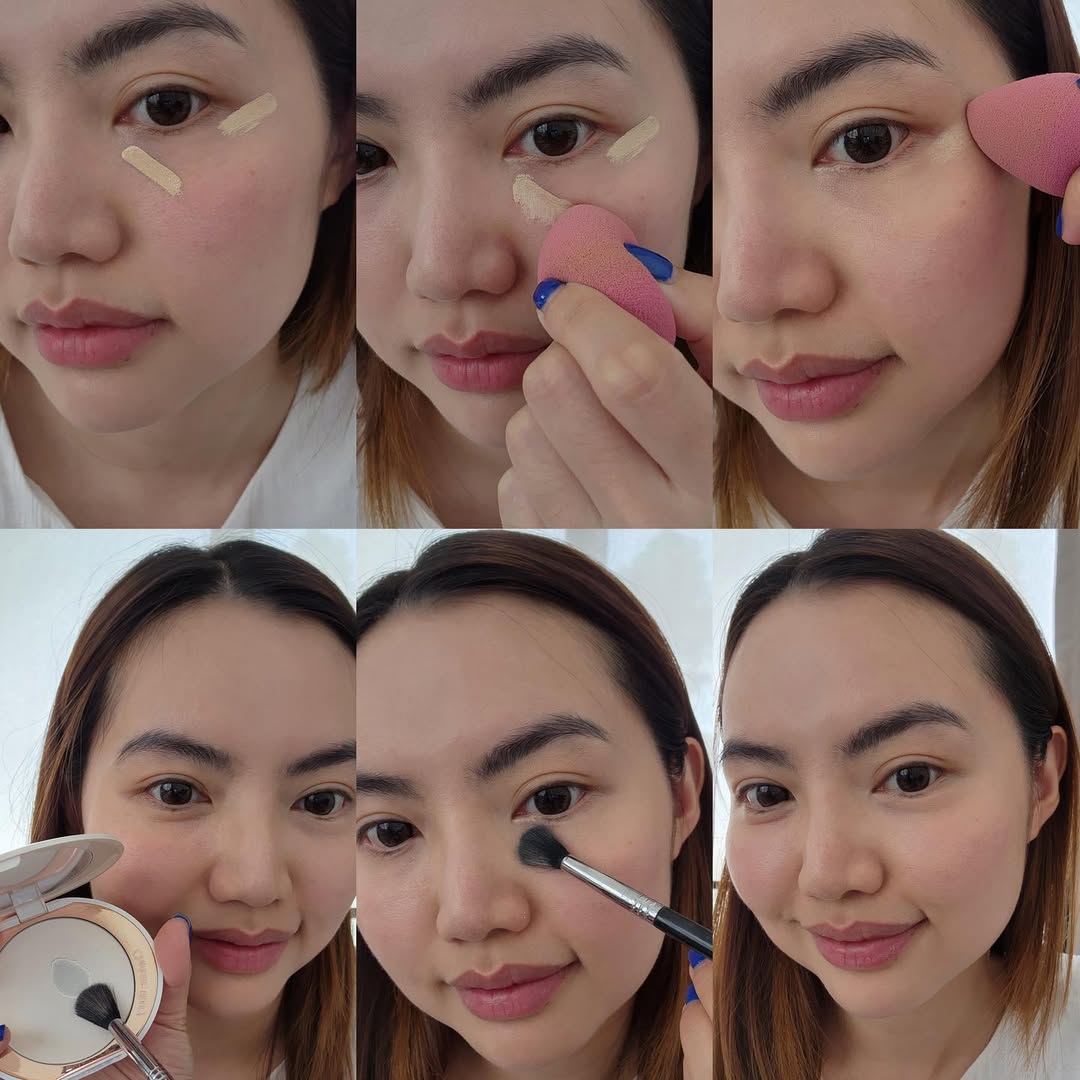
Many beginners make the mistake of applying concealer directly under their eyes in a half-moon shape, but this actually draws attention to under-eye bags rather than concealing them. The better technique is to apply concealer in an upside-down triangle shape, with the base under your eye and the point extending toward your cheek. This method brightens the face and creates a lifted effect that looks naturally radiant. For the best results, use a creamy, lightweight concealer that won’t settle into fine lines. If you struggle with dark circles, consider applying a peach or orange-toned corrector underneath before adding concealer. Set everything with a fine, translucent powder to prevent creasing and ensure a flawless, all-day finish.
4. Set Your Base with a Powder Puff, Not a Brush
source @realtechniques
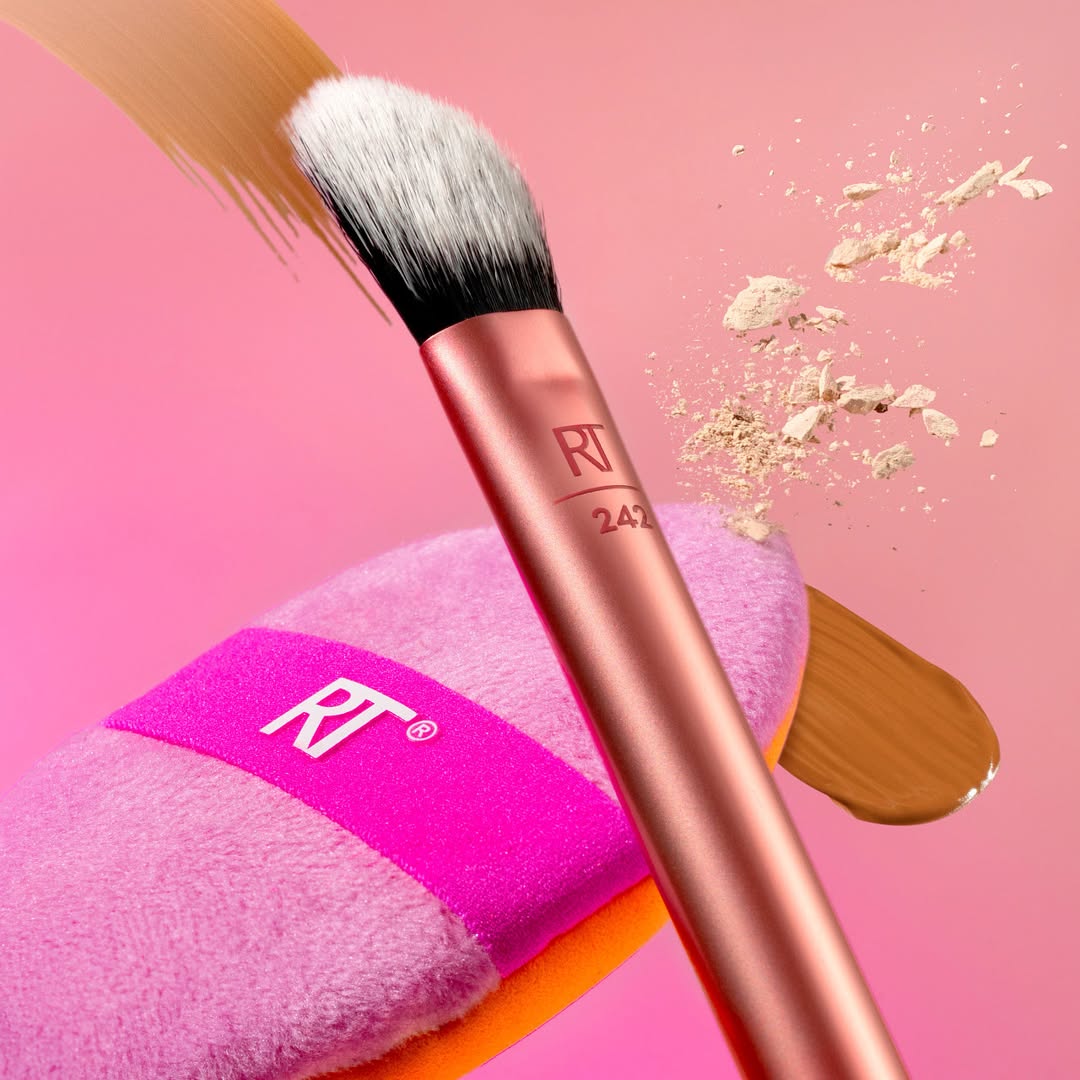
If you’ve ever struggled with your makeup looking too powdery, cakey, or uneven after setting it, you’re probably using the wrong tool. Many beginners grab a fluffy brush to apply setting powder, thinking it will give a light and even application. However, this method often results in makeup sitting on top of the skin instead of melting into it. The secret to a truly flawless and airbrushed finish is using a velour powder puff instead of a brush. These soft, cushiony applicators press the powder into your skin rather than just dusting it on, which helps to lock in your base makeup without looking dry. Lightly tap your powder puff into a finely milled translucent powder, then press and roll it onto areas prone to creasing, like under the eyes, around the nose, and the T-zone. This technique ensures that your makeup stays fresh, smooth, and locked in place for hours without feeling heavy.
5. Use Setting Spray Before and After Makeup for Ultimate Hold
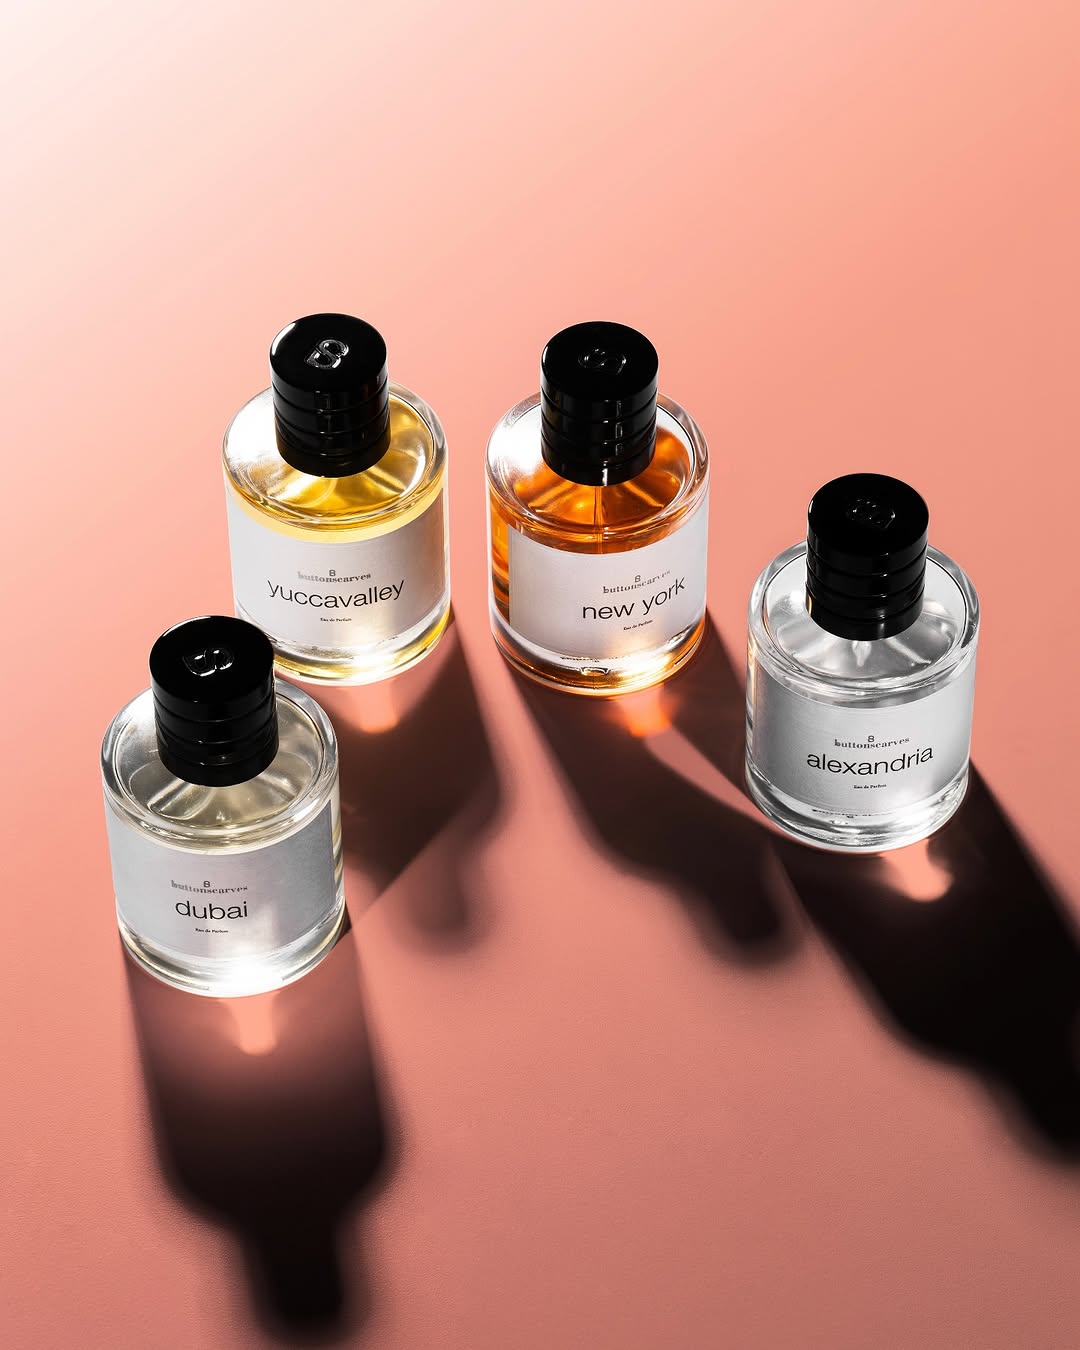
source @buttonscarvesbeauty
Most people think of setting spray as the last step in their routine, but did you know using it before and after makeup can make it last even longer? This double-setting technique creates a long-wearing, transfer-proof finish that holds up through heat, humidity, and long days. Start by misting your face with setting spray before applying foundation—this acts as a gripping base that helps products adhere better to the skin. Once you’ve finished your makeup, spray it again to seal everything in place. For an even stronger hold, lightly press the setting spray into your skin with a damp beauty sponge. This hack is a favorite among professional makeup artists because it prevents makeup from budging, even after hours of wear. If you’re looking for a flawless, smudge-proof finish, don’t skip this step!
6. Warm Up Your Eyelash Curler for Maximum Curl

source @godefroybeauty
Struggling to get your lashes to stay curled? A simple trick can take your lash game to the next level—warming up your eyelash curler before using it. Just like a curling iron helps hair hold its shape, heat helps lashes stay lifted for longer. The easiest way to do this is by blasting your eyelash curler with a hairdryer for a few seconds until it’s slightly warm (but not too hot to touch). Then, gently clamp it at the base of your lashes and hold for about 10 seconds before applying mascara. The warmth helps shape your lashes more effectively, giving you a longer-lasting curl. For an even more dramatic effect, follow up with a waterproof mascara, as it holds the curl better than regular formulas.
7. Master the Easiest Eyeliner Hack with a Spoon or Tape

source @facescanada
Winged eyeliner is one of the trickiest makeup skills to master, but a simple spoon or a piece of tape can make it foolproof. If you struggle to get your wings even, try placing a spoon’s handle along the outer corner of your eye as a guide, then trace along the edge with your eyeliner. You can also use a small piece of tape angled from the outer corner of your eye toward your brow—this creates a clean, sharp wing with no guesswork. Once your eyeliner is dry, gently peel away the tape to reveal a perfect flick. This trick ensures symmetry and prevents shaky, uneven lines, making it an absolute game-changer for beginners.
8. The Mascara Wiggling Trick for Fuller Lashes

source @forchics
If you apply mascara in a straight upward motion, you’re missing out on a simple technique that makes a huge difference—wiggling the wand at the base of your lashes. Instead of swiping up right away, place the mascara wand at the root of your lashes and wiggle it from side to side before pulling it through to the tips. This helps deposit more product at the base, making your lashes look fuller, thicker, and more voluminous. It also prevents clumping, since the product is distributed more evenly. If you want even more drama, apply a second coat while the first layer is still slightly damp, focusing on the outer lashes for a lifted effect.
9. The Perfect Eyebrow Guide Using a Pencil Trick
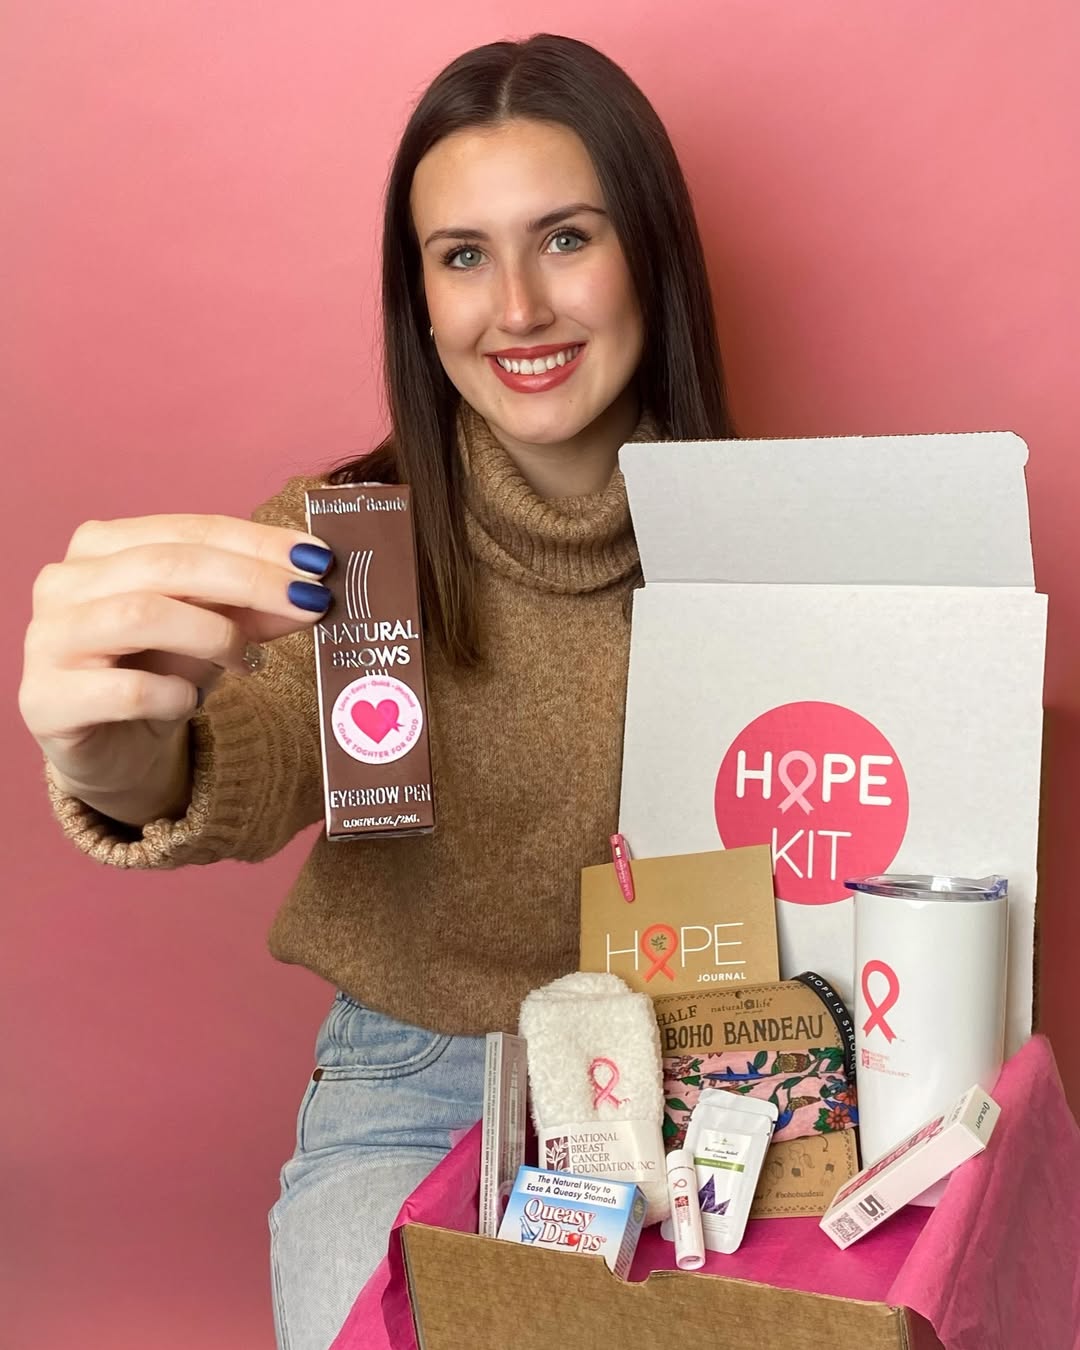
source @nbcf
Filling in your eyebrows evenly can be a challenge, especially if you’re not sure where they should start, arch, and end. A foolproof way to map out your brows is using the pencil trick: Hold a brow pencil vertically along the side of your nose—this is where your brow should start. Next, angle the pencil from the edge of your nose through the center of your eye—this is where your arch should be. Finally, tilt the pencil from your nose to the outer corner of your eye—this is where your brow should end. Once you have these three points marked, lightly fill in your brows with hair-like strokes, using a fine-tip brow pencil or powder. Brush through with a spoolie to blend everything for a natural finish.
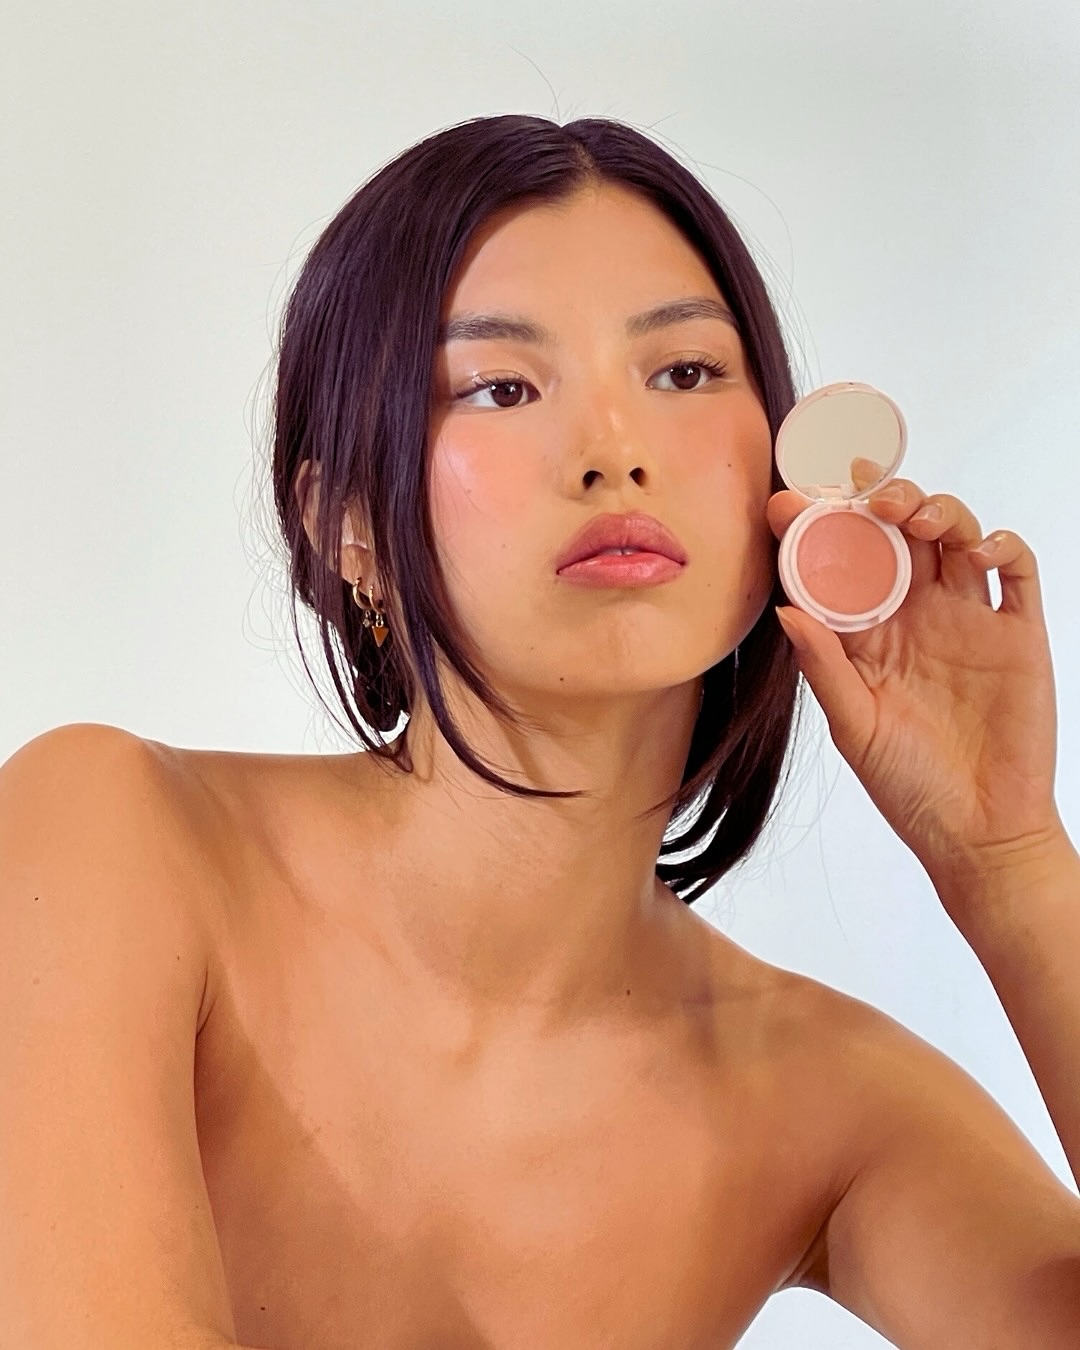
10. Lipstick as Blush for a Natural, Harmonious Look

source @makeupbypamela
One of the best multitasking hacks in makeup is using your lipstick as blush. This trick not only saves space in your makeup bag but also creates a beautifully coordinated look. To do this, simply apply a small amount of your lipstick to the apples of your cheeks and blend it out with your fingers, a sponge, or a brush. The warmth of your skin helps the product blend seamlessly, giving you a soft, dewy flush of color. Creamy or satin-finish lipsticks work best for this hack, as matte formulas can be harder to blend. This technique is perfect for achieving a fresh, natural look that ties your entire makeup together effortlessly.
11. Overline Lips the Right Way for a Fuller Pout
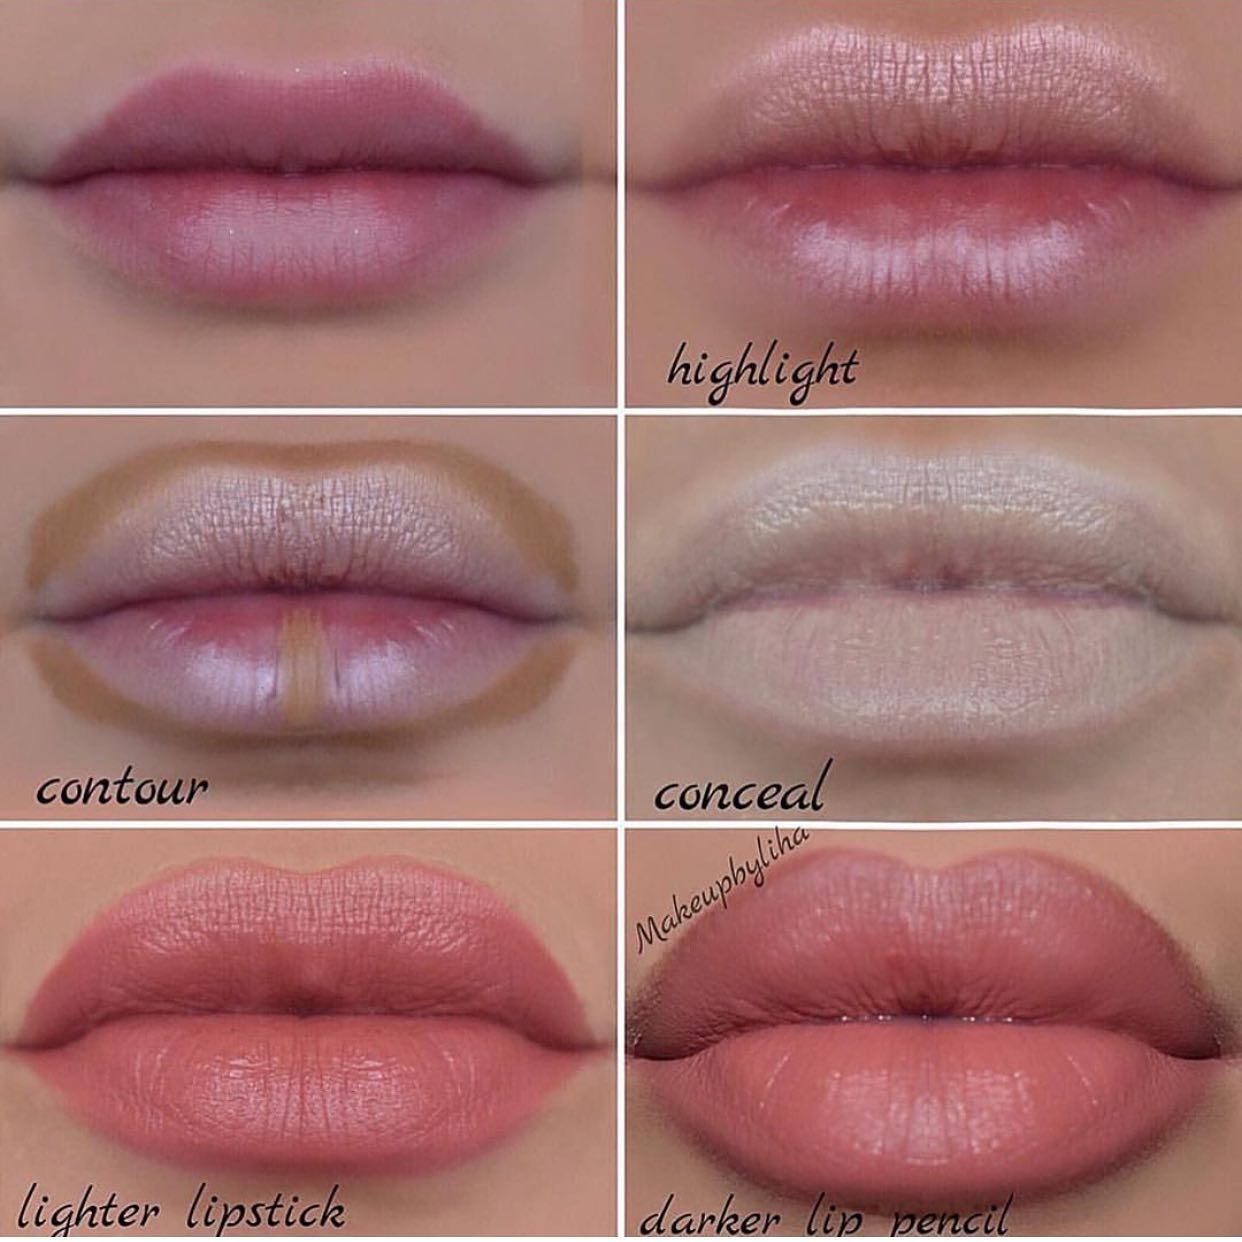
source @facebyfiza
Overlining your lips can give you a plumper look, but doing it incorrectly can make it obvious. The trick is to only overline the cupid’s bow and the center of your lower lip, then connect it naturally to the corners of your mouth. This subtle technique enhances the shape without looking fake or overdone. To make it even more seamless, use a lip liner that matches your natural lip color, then fill in with a matching lipstick. A dab of gloss in the center of your lips will add even more dimension, creating the illusion of a fuller pout.
12. Set Lipstick with Translucent Powder for All-Day Wear
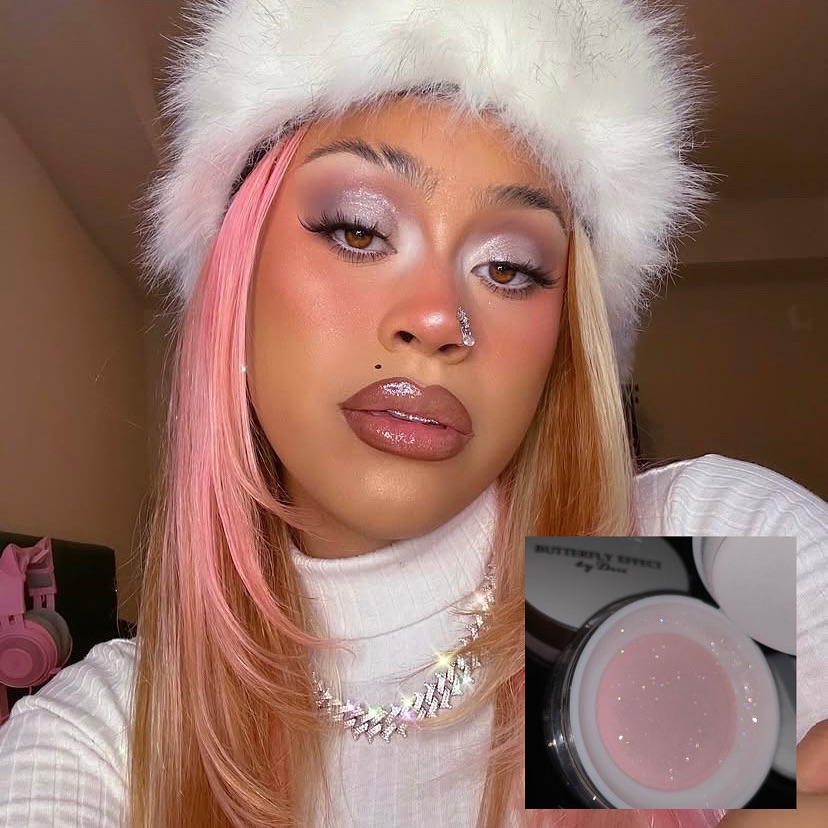
source @butterflyeffectbydesi
Tired of your lipstick fading or smudging? Lock it in place by setting it with a light dusting of translucent powder. After applying your lipstick, place a thin tissue over your lips and gently dust translucent powder over the top. This technique absorbs excess oils, mattifies the lipstick, and helps it stay put for hours without transferring. It’s a classic trick used by professional makeup artists for long-wearing lip color that doesn’t budge.
13. The Secret to Perfectly Blended Eyeshadow – Transition Shades Matter
source @theoneartistry
One of the most common mistakes beginners make with eyeshadow is skipping transition shades, leading to harsh, unblended eyeshadow looks. A transition shade is a neutral, slightly darker shade than your skin tone that helps blend deeper colors seamlessly into your crease. The trick is to apply this shade first, using a fluffy blending brush in windshield-wiper motions across the crease of your eyelid. This creates a soft, diffused effect and makes it much easier to layer on darker or more vibrant colors without looking patchy. If you struggle with blending, another pro tip is to hold your brush at the very end—this applies less pressure, making blending effortless. Transition shades might seem like an extra step, but they’re the secret to achieving that professionally blended, gradient look every time.
14. Use White or Nude Eyeliner to Make Your Eyes Look Bigger
source @antara_sarkar10
If you want to instantly make your eyes appear bigger and more awake, swap your black eyeliner for a white or nude pencil on your lower waterline. Black liner can sometimes make the eyes look smaller by closing off the space, whereas a lighter shade brightens the area and creates the illusion of larger eyes. This trick works especially well if you have smaller or hooded eyes that need a little extra lift. For the best effect, pair it with well-curled lashes and a touch of shimmer in the inner corner of your eyes—this combination enhances brightness and makes you look instantly refreshed. If white eyeliner feels too bold, a soft beige or peach shade will give the same effect in a more natural way.
15. The Fingertip Trick for Flawless Highlighter Application

source @mr.b_salon
Applying highlighter is all about placement and blending, but many beginners end up with streaky or overly intense results. The best way to achieve a natural, radiant glow is by using your fingertip instead of a brush. Your body heat helps cream or powder highlighter melt into your skin more naturally, avoiding the harsh lines that brushes sometimes leave behind. Dab a small amount onto the high points of your face—the tops of your cheekbones, the bridge of your nose, the brow bone, and the cupid’s bow. If you prefer a more diffused effect, lightly press the product in with a damp beauty sponge. This technique ensures that your glow looks like it’s coming from within rather than sitting on top of your skin. For an extra pop, apply a touch of highlighter to the inner corners of your eyes—it instantly makes you look more awake and youthful.
16. The Concealer Cleanup Trick for Sharp, Defined Lips
source @jilliandempsey
Struggling with uneven lipstick edges or accidental smudging? A simple way to fix this and create a professionally defined lip look is by cleaning up the edges with concealer. Using a small, flat brush, trace the outer edges of your lips with a tiny amount of concealer that matches your skin tone. Blend it out gently so that it seamlessly fades into your skin, creating a crisp, sharp lip line. This technique not only fixes mistakes but also enhances the shape of your lips, making them look fuller and more precise. If you’re going for a bold red or dark lip, this step is a game-changer—it prevents the color from bleeding and keeps everything looking polished. You can also apply a tiny bit of highlighter to the cupid’s bow for an extra touch of definition and dimension.
17. The Reverse Contour Trick for a Natural Sculpted Look

source @sadiaslayy
Contouring can be intimidating, especially for beginners, but the reverse contouring method makes it foolproof. Instead of applying dark contour shades first, try applying your concealer in a way that enhances your natural bone structure. Apply a brightening concealer under your eyes, along the sides of your nose, under your cheekbones, and in the center of your forehead and chin. Once blended, these areas will naturally make the rest of your face look more sculpted without needing as much contouring product. Then, lightly dust a cool-toned bronzer on the areas where shadows naturally fall—along the hairline, under the cheekbones, and along the jawline. This method results in a softer, more natural contour that enhances your features without looking harsh or overdone. If you prefer a lifted effect, blend everything upwards to create a naturally snatched look